
9th july, 2012
Owlet Sequence

this is my interpretation of an image I came across on Inspire's facebook page which I recently shared on my Eclectic Critters facebook page! It seems to have attracted much attention, and some of you ask for instructions. so whilst I put craft together for kiddies over school holidays, I have photographed the process, as there was no source or instructions with the original image.

as you can see there are quite a few pieces to cut, and as I mentioned above I made template from scratch, using some japanese print paper and coloured cardboard for owlet. recycled wrapping paper and old tissue boxes would suffice. with one set of eyes we cut the black circle using crinkle cut scissors, just to give some variation.

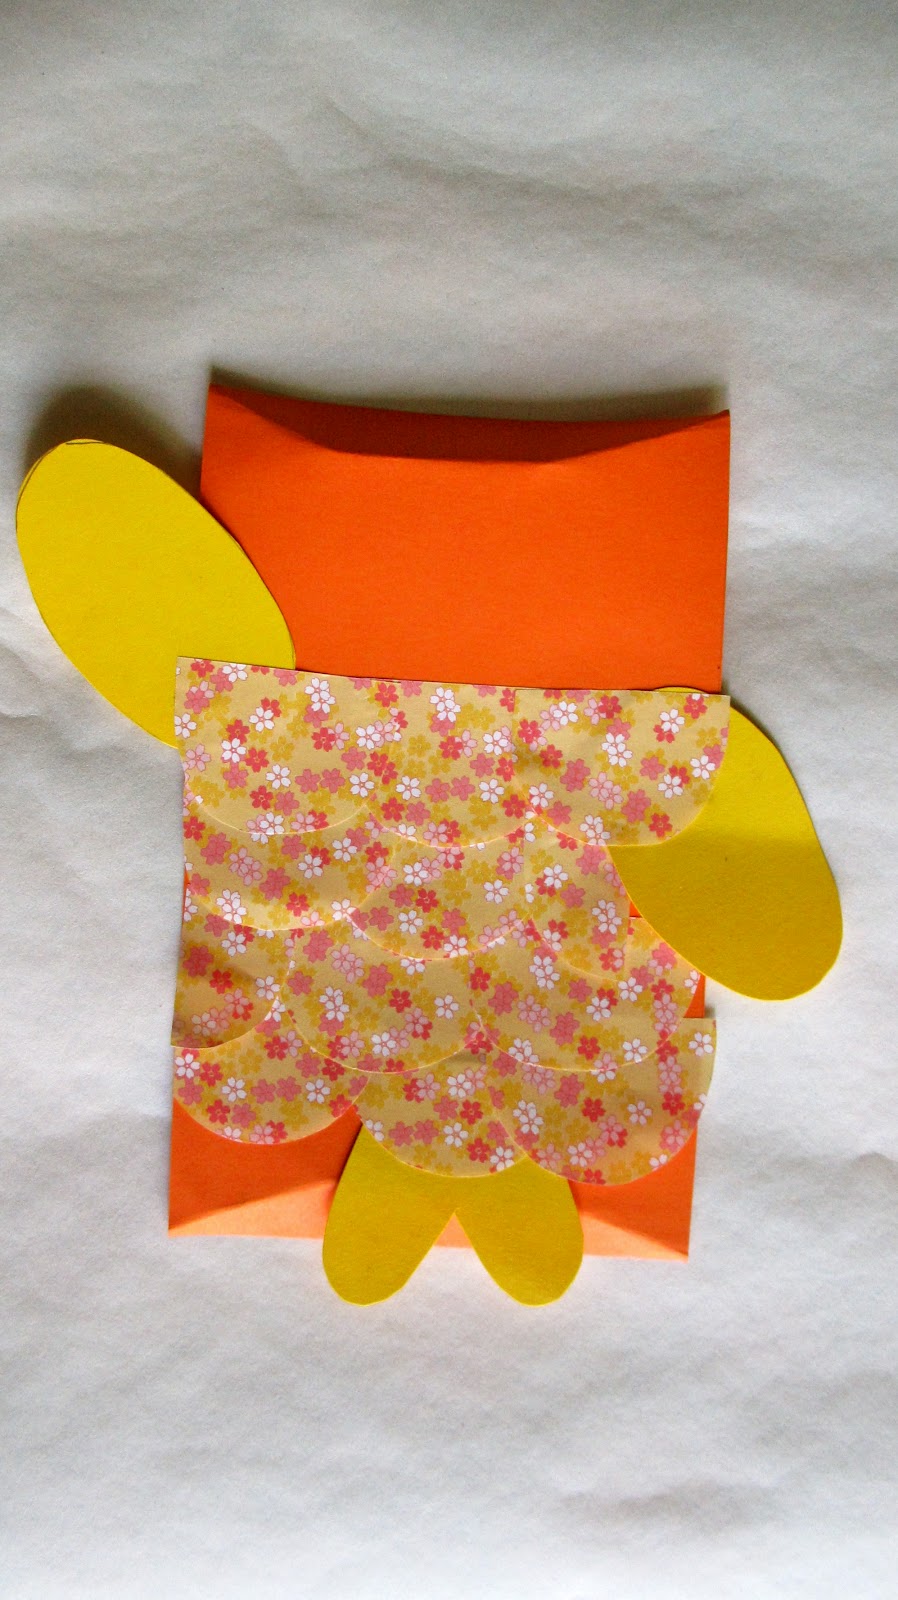
with rectangular piece of card, create a fold line - starting at centre and tapering out to corners. repeat this process top and bottom. this creates the owls peaks on top of head and base. then open this out flat for next process.

next glue the smaller black circles inside the larger white circle for eyes.

on the rectangular card, position and glue the feet first. I found when attaching cardboard to cardboard, double sided tape holds much better.

attaching wings at this stage optional, or if preferable leave till last. be creative with eyes and wings, give owlet individual expression.


next the scolloped pieces are attached, starting from the base and working upwards. I worked with four rows. glue thin strip across top only. if you prefer stiffer look, use patterned cardboard instead of paper


next attach eyes using double sided tape

double side beak into position


we created a tiny owlet out of scraps, so varying size an option. remember to be creative and add your own personal stamp.

rather than googly eyes we opted for small round stickers, try different placement with eyes. and so as the feathers stick out, slightly bend out bottom of scollop on each piece. this create a 3D effect.

I do hope this helps, feel free to share this blog (would appreciate it when sharing, if you can credit my page). if you feel you need more help, let me know and maybe when I have a moment between playdates, sewing, printing and trying to make my keep, I can put together a template and scan it in.
I have also put together my own owlet softie kit & robot kit, which includes everything you need to sew a soft toy including instructions. there is an image of an owlet which has been handprinted, backing, toy fill, embroidery yarn and trimmings. If interested in ordering one of these just email me at eclecticcritters@gmail.com
I have also put together my own owlet softie kit & robot kit, which includes everything you need to sew a soft toy including instructions. there is an image of an owlet which has been handprinted, backing, toy fill, embroidery yarn and trimmings. If interested in ordering one of these just email me at eclecticcritters@gmail.com

Enjoy!

Nice done! Really like the idea, very cute :-)
ReplyDeleteglad you enjoyed it! cheers mary
Delete